Versature has tested the specific configuration described in this article in both lab and real-world environments. Further, other configurations have proven to either not achieve high-quality voice or cause serious issues with other non-voice traffic.
This article contains the proper setting for the WNDR3400v3/n600/n750/WNDR4300 when using Versature phones.
Factory Default Gateway: 192.168.1.1
By using a web browser, you can access the GUI interface by entering the default gateway address of the device. You have to take the router, plug it into your computer then connect to the 192.168.1.1 address.

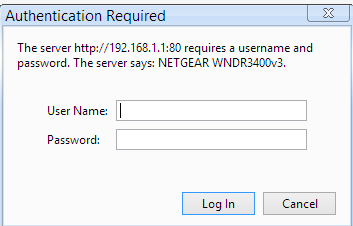
STEP 1: LOG IN
Log in to the device using the Versature credentials, if you don't know the credentials, please call 611 for assistance. If you are brand new, the login should be:
Username: admin
Password: password
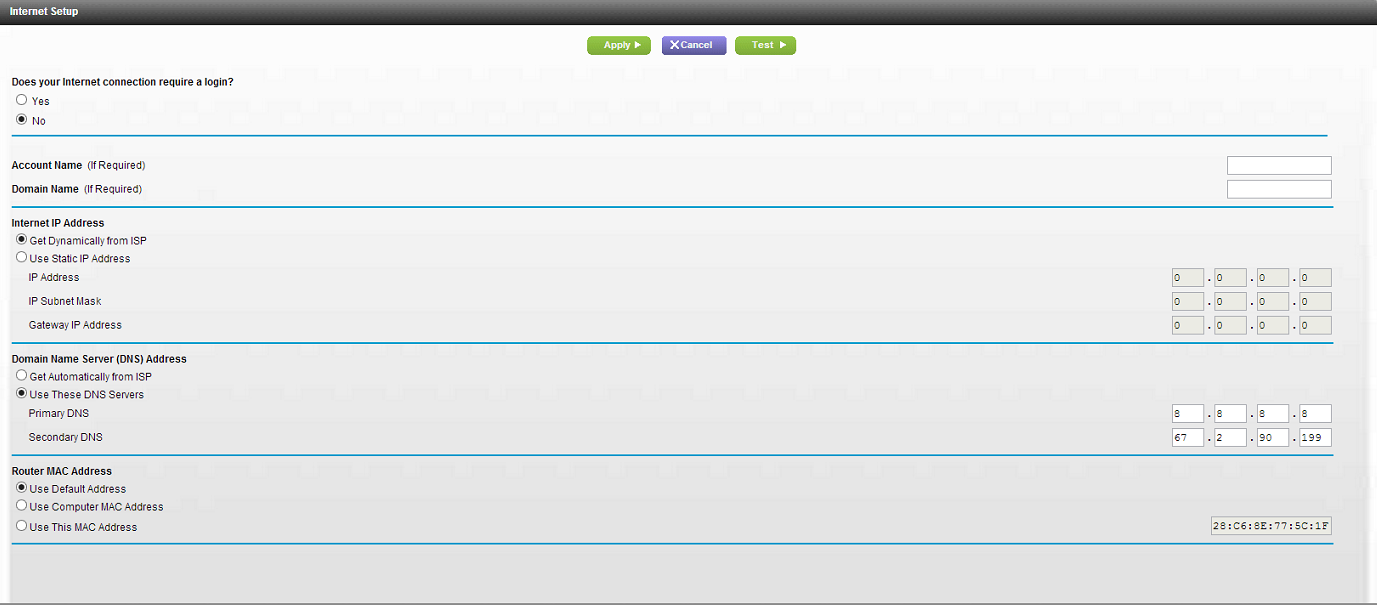
STEP 2: INTERNET SETUP
1. Click Advance > Setup > Internet Setup.
2. Follow the configuration settings for your internet set up:
For Cable Users
- Does your Internet connection require a login?: No
- Internet IP Address: Get Dynamically from ISP
- Domain Name Server (DNS) Address
↳ Use These DNS Server
↳Primary DNS 8.8.8.8
↳Secondary DNS 8.8.4.4
For DSL Users
- Does your Internet connection require a login?: Yes
- Internet Service Provider: PPPoE
- Login (From Provider)
- Password (From Provider)
- Domain Name Server (DNS) Address
↳ Use These DNS Server
↳ Primary DNS 8.8.8.8
↳ Secondary DNS 8.8.4.4
For Cable Users with Static IP
- Does your Internet connection require a login?: No
- Internet IP Address: Use Static IP Address
↳ IP Address: From Provider
↳ IP Subnet Mask: From Provider
↳ Gateway IP Address: From Provider
c. Domain Name Server (DNS) Address
↳ Use These DNS Server
↳ Primary DNS 8.8.8.8
↳ Secondary DNS 8.8.4.4
3. Click Apply when finished.
STEP 3: WAN SETUP
- Click Advance > Setup > WAN Setup.
- NAT Filtering: Disable SIP ALG.
- Select Radio Button Secured.
- Check Disable SIP ALG.
- Check Respond to Ping on Internet Port.
- Click Apply when finished.

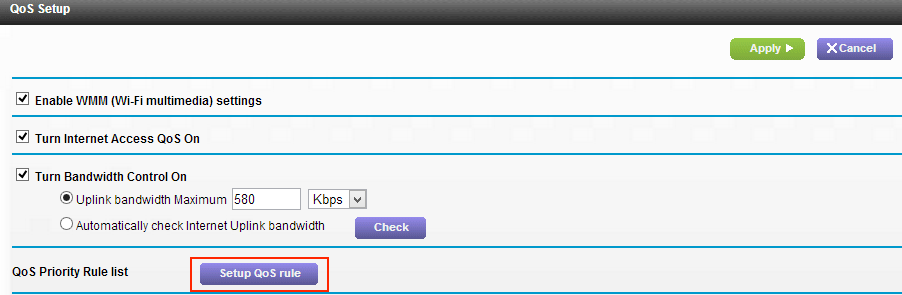
STEP 4: QUALITY OF SERVICE (QoS) SETUP
- Click Advanced > Setup > QoS Setup
- Check Enable WMM (Wi-Fi multimedia) settings.
- Check Turn Internet Access QoS On.
- Check Turn Bandwidth Control On.
↳Select Uplink bandwidth Maximum.
↳Set the Maximum according to speedtest results. You need to Convert the upload into Kbps.
You can use:
- https://www.gbmb.org/mbps-to-kbps
- www.speedtest.net
5. Click Apply when finished.

STEP 5: QOS PRIORITY RULE
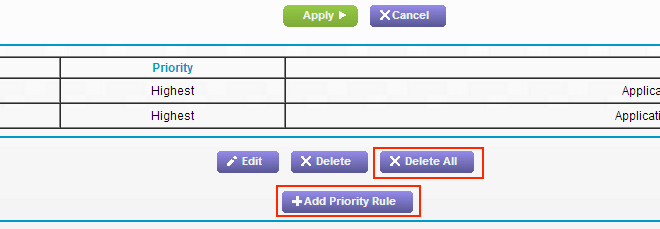
1. In the QoS Setup Screen, click Setup QoS Rule.
2. Click Delete All.
3. Click Add Priority Rule.
STEP 6: SETUP QoS RULES
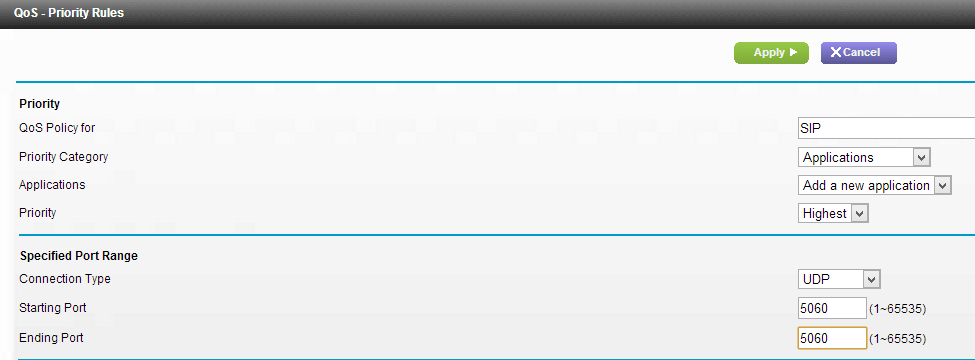
For SIP:
- QOS Policy for: SIP
- Priority Category: Applications
- Applications: Add a new application
- Priority: Highest
Specified Port Range
- Connection Type: UDP
- Starting Port: 5060
- Ending Port: 5060
Click Apply when finished.
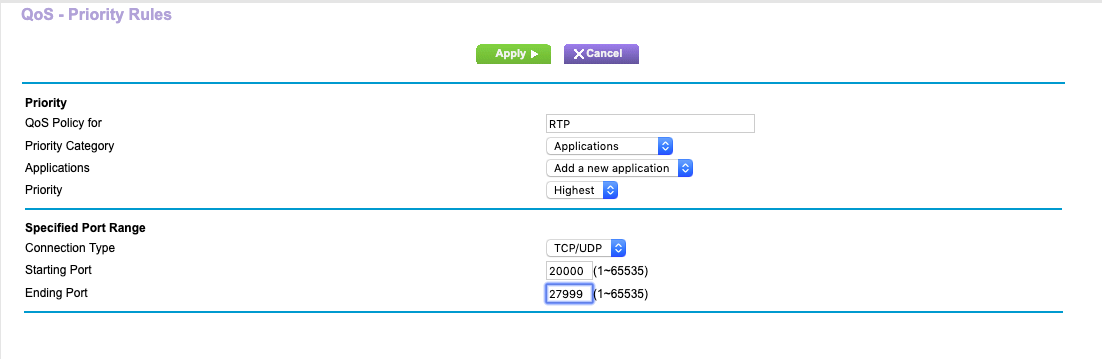
For RTP:
- QOS Policy for: RTP
- Priority Category: Applications
- Applications: Add a new application
- Priority: Highest
Specified Port Range
- Connection Type: TCP/UDP
- Starting Port: 20000
- Ending Port: 32999 (update screenshot)
Click Apply when finished.